Follow A Retrofit

Here is an in depth look at the process of retrofitting a standard Tabla to a TransTabla. This is an actual customers drum from musician Joshua Levin of “New World Rhythmatism”. This is Joshua’s second TransTabla, and he has generously agreed to put his Tabla in the spotlight for this example.

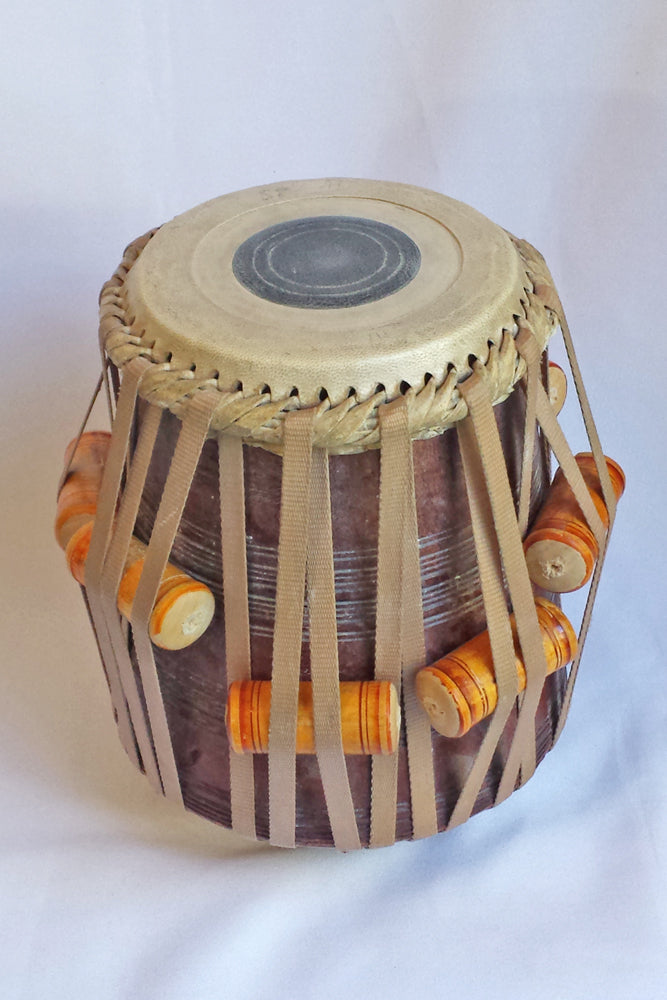
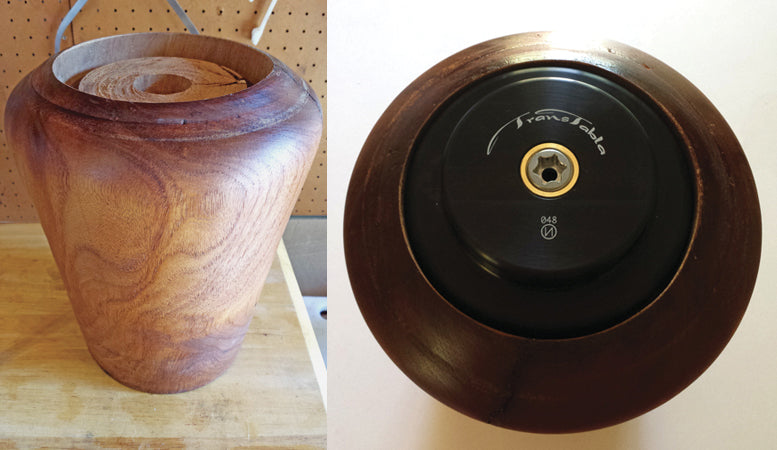
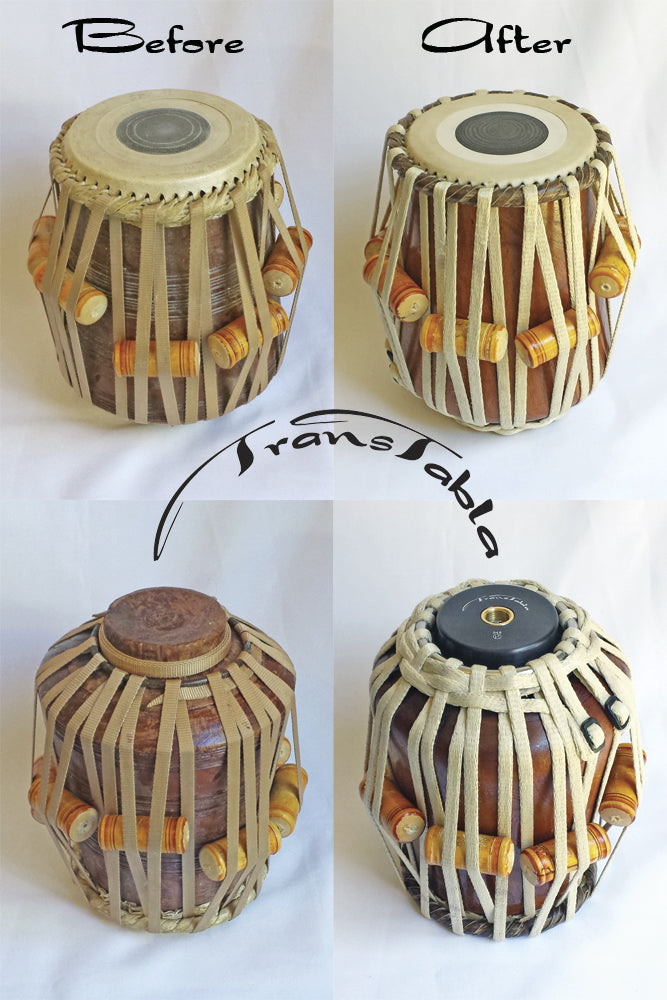
The process begins by examining the Tabla for any shipping damage, and making sure the head is playing like the customer described before sending. In some cases, cusomers will request a re-head during conversion which is something we offer for an additional charge. Joshua’s Tabla was packed well, and looks to be in good shape for a TransTabla retrofit.

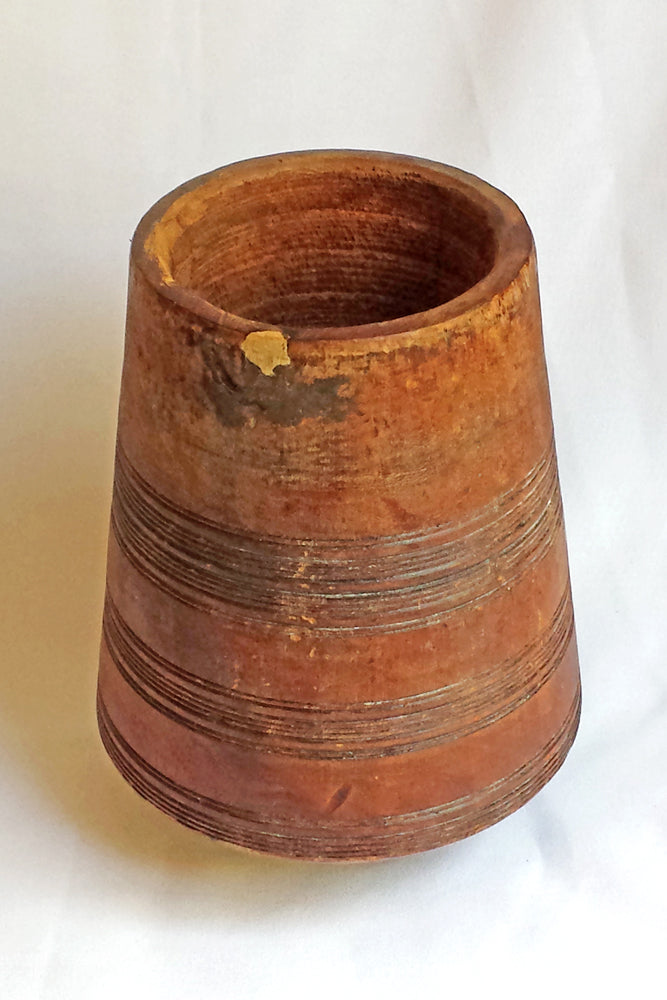
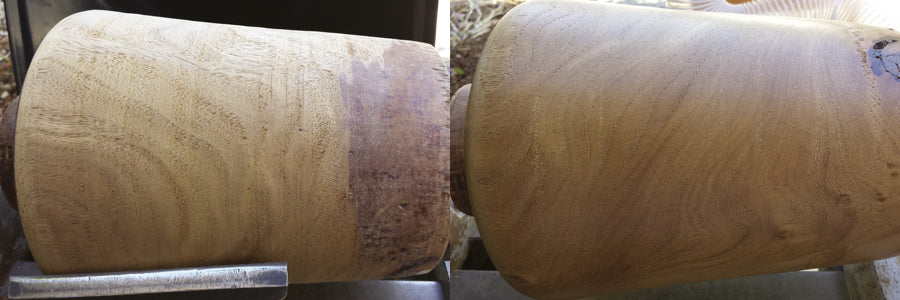
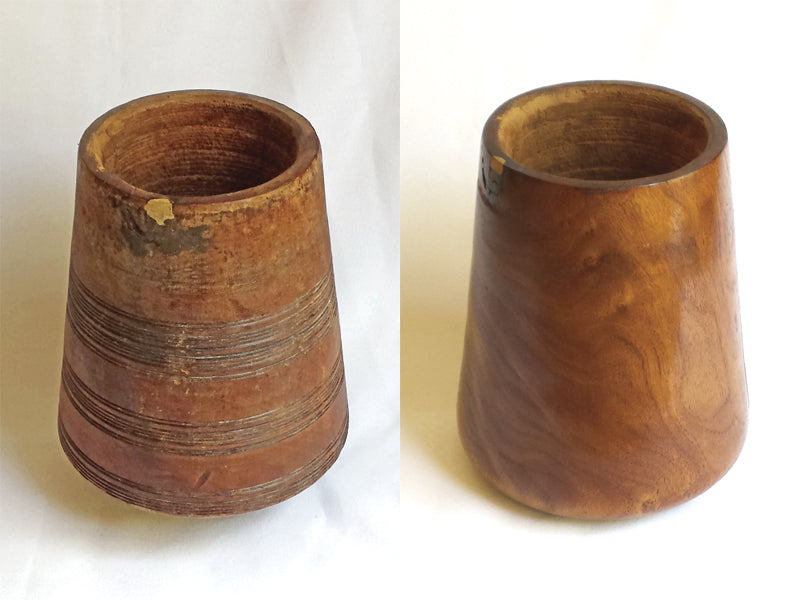
Next we untie and remove all the strapping, head, and pegs and save them for reassembly. Now that the shell is revealed, we look for any obvious signs of warping, cracks, and loose knots or defects that may present a problem if the customer has elected a polished option. This shell has a filled knot feature near the rim, but it seems to be solid nonetheless. There is also a relatively long crack toward the base, but it’s not very wide, and again looks strong enough to continue.

Checking the depth of the drum's cavity is critical to insuring a proper fit for the tuning mechanism.  Shells need to have at least 1″ of wood between where the Transtabla parts are installed and the bottom of the cavity well.  Most Tablas meet this requirement so it’s rarely an issue. If your Tabla is very light weight, there is a chance there is not enough material to safely perform a retrofit.  Joshua’s Tabla was close, as it has a smooth lathe-turned 7-1/4″ deep cavity, but after measuring it seems that it will have 1-1/4″ of wood thickness left after the process is complete.  Next we use a caliper to check the shell diameter and roundness. This Tabla came in at 5.95″ diameter at the widest point, and 5.83" at the smallest. The difference is around 1/8″ (.125) and when the rim is this out of round, it can affect the stretching of the head and its ability to stay in tune and balance. The solution is to put the shell back on a lathe and re-true it to the smaller diameter of 5.83 or close to it. 7/8ths of an inch is .875 so perhaps we could bring it to 5-7/8″ as a compromise. We will advise Joshua and see what he elects to do. There would be added cost due to the setup and labor, but this option will also include the fine finishing of the shell.

Centered Image

Tabla shells are nearly all turned from wood that has not been seasoned and dried out. This makes sense when considering how incredibly long it takes for a solid log 12″ in diameter takes to dry out. It will typically take no less than 10 years for your average Tabla sized log. This results in most tabla shells becoming elliptical as they dry out, which negatively affects the tonal stability.

Joshua and I exchanged an email and he will make his decision soon.  He brought up a good question regarding whether the shell would warp again after we re-true it.  This will not happen if the wood has thoroughly dried like this one has. The only way to make a fully dry shell warp again, would be to expose it to direct moisture or extremely high heat.

After a bit of correspondence, Joshua elected to go with the refinishing option. In order to round out the shell, material and any finish that was previously there will be removed. This process is also the most aesthetically rewarding thing you can do for your Tabla, and as you will see, Joshua made an excellent decision being that his shell was not made of Sheesham after all, but Pterocarpus Marsupium, or “Vijayasar”.

  • The setup for the lathe begins by finding the center point on the base of the Tabla. Sometimes there is a mark where the original lathe spurs bit into the wood, but it can be tough to relocate on so I like to start fresh and mark out the lines. Once the center is found, we drive a shaft for the lathe into the base, install into the lathe, and check for roundness.

If the shaft is off, the spur center will need to be reset and checked again. Once the shell is secured into the lathe, we begin cutting with chisels, removing the old finish and removing just enough wood to bring the shell back to even roundness.

The shell spins up nice upon testing, so now the cutting can begin. The photos show the lathe spinning and the progression of removing the original lines. Another part of our polishing process is the smoothing of the bottom edge of the Tabla where the straps undergo a 90-degree bend from the base to the head. Making that transition gradual and smooth prevents binding, and helps the straps adjust while balancing and making pitch changes with the TransTabla.

Centered Image

With the lathe stopped in the below photos, it’s clear where the existing finish has barely been touched. That area was the smallest diameter and if we cut into that portion we would reduce the overall diameter of the Tabla, so we will let sandpaper remove that old finish instead. We now move on to sanding while on the lathe starting with 50 grit sandpaper and progressing to finer and finer grits. I will typically go 50, 80, 100, 120, 150, 220, 320, 400, 600, and sometimes finer if the wood is of a closed grain variety that takes it well. Vijayasar has a rather open cell wood grain, so 220 or 320 should be adequate. The photo to the right shows the detail produced from 220 grit.  There is a tremendous amount of dust created during this phase, and wood dust is a serious health hazard. If you attempt to sand your own shell, always wear the best protective mask available.

Centered Image

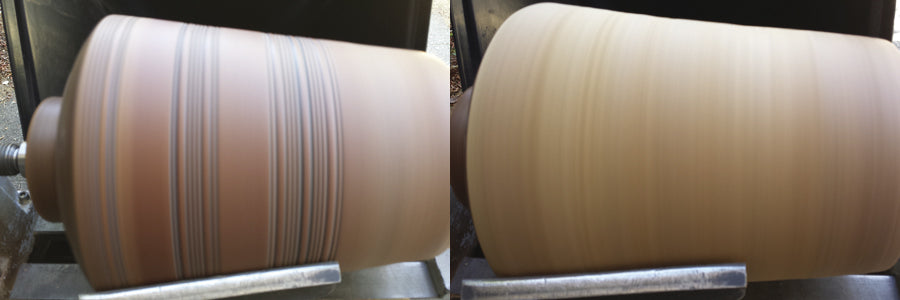
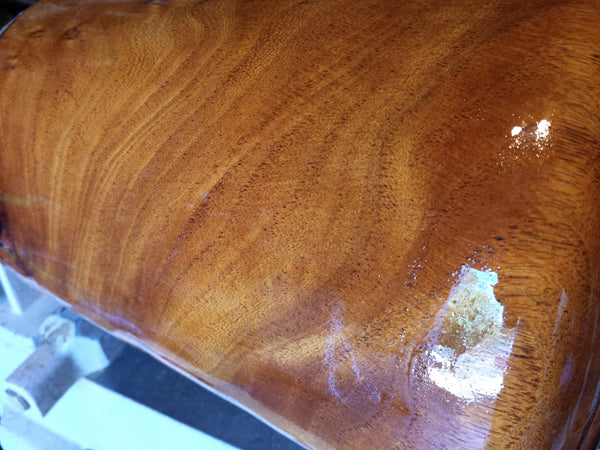
After sanding is complete, all the dust is thoroughly wiped off and several coats of finish is applied. The finish serves to bring out the details in the wood grain, protect the wood from absorbing moisture, and create a semi-glossy finish that is durable and maintenance free. Each coat requires at least 24hrs to dry and cure, so this process can take weeks.

When the shell is dry enough to handle, we can begin setup for the base modification to accept the TransTabla mechanism. The setup involves custom fixtures and tooling and typically takes a few hours to perform. The end result is a shallow cavity feature in the bottom of the shell that serves to locate the TransTabla parts on center and allow the mechanism to operate smoothly in a fixed direction parallel to the Tabla head or “pudi”.

A final check to make sure the parts fit to specifications, and then lacing of the new head can begin.

Here are before and after pictures of the shell when our process is completed:

Centered Image
Centered Image

Installing a new head with the Transtabla system is no longer difficult, but can be time consuming. We have several videos on the subject for those who want to view the process in detail. TransTablas are designed to be low maintenance, and fully reheadable by the owner if the need arises. Joshua had requested a head optimized for “G” pitch, and we had one that fit the bill perfectly.  After lacing the new head on with our zero-stretch Vectran strap and Stainless Steel base ring, we went through the process of tensioning and balancing the head (see our videos for details). This versatile F – A range Transtabla is now complete and ready to ship back to Joshua.

We hope this article was informative and answered many questions you may have regarding the retrofit process and the work that goes into a TransTabla conversion. If you have any further questions, feel free to contact us anytime. Thank you!

Centered Image

Joshua's Retrofit TransTabla at F

Joshua's Retrofit TransTabla at G

Joshua's Retrofit TransTabla at A